Table of Contents (20 sections)
- What is Artistic Photography and Why is Light Important?
- Understanding Different Types of Light
- Step-by-Step Guide to Using Natural Light
- Setting Up Artificial Lighting
- Comparing Natural vs. Artificial Light
- Tips and Tricks for Mastering Light
- FAQ about Light in Photography
- Glossary
- Checklist before Photography
What is Artistic Photography and Why is Light Important?
Artistic photography is a unique genre that goes beyond mere documentation; it aims to evoke emotions and offer a perspective that resonates with viewers. Central to artistic photography is the use of light. Light can dramatically change the mood, tone, and aesthetics of a photograph. According to professional photographers, understanding how to manipulate light is crucial in delivering the desired visual narrative. When considering artistic images, think of elements like texture, color saturation, and contrast—all significantly influenced by the quality of light. For example, soft, diffused light creates soothing images, while harsh light can produce stark contrasts that add drama. Thus, mastering light not only enhances technical skills but also helps convey the artist's vision effectively.
Understanding Different Types of Light
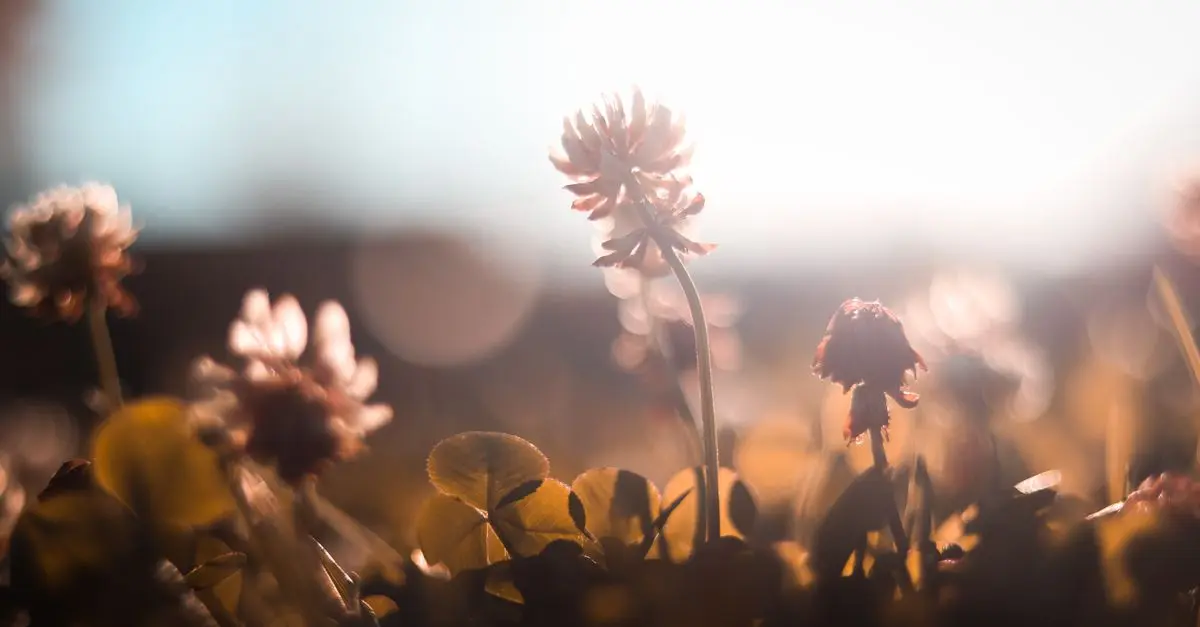
Light can be categorized into two main types: natural light and artificial light. Natural light, derived from the sun, varies throughout the day and can be influenced by weather, seasons, and geographical location. The golden hour, usually around sunrise and sunset, is revered among photographers for its warm tones and soft shadows, presenting an ideal setting for stunning images. On the other hand, artificial light is generated through various artificial sources, like flash, LED lights, or studio lighting setups. Each type of light has its unique characteristics: natural light tends to have a softer quality, while artificial light can be manipulated more freely, allowing for creative setups and consistent results. Understanding these differences helps photographers make informed decisions on which type of light to utilize based on their shooting conditions and artistic goals.


Step-by-Step Guide to Using Natural Light
Step 1: Identify Your Light Source
Begin by identifying the main light source in your environment. Whether it's daylight streaming through a window or sunlight illuminating a landscape, knowing where the light is coming from helps shape your composition.
Step 2: Observe the Quality of Light
Evaluate the quality of the light: Is it soft or hard? This depends on factors like the time of day and weather conditions. Overcast days provide diffused light, eliminating harsh shadows, while sunny days result in stark contrasts. Choose your timing based on the quality of light you wish to achieve.
Step 3: Use Reflectors
To accentuate your subject, consider using reflectors. These can bounce natural light onto your subject, enhancing brightness and reducing shadows. Reflectors can be as simple as a white sheet or purchased photo-specific tools.
Step 4: Experiment with Angles
Change your shooting angle to witness how light behaves differently. Shotting from lower angles might capture flattering sun rays or beautiful silhouettes against the backdrop. Rotate around your subject to find the most compelling light.
Step 5: Capture In the Moment
Once you’ve set the scene, be prepared to capture images quickly. Natural light shifts constantly, and waiting for the perfect moment can yield stellar results. Engage your subjects and have them react naturally to the light around them—this brings spontaneity to your shots.
Setting Up Artificial Lighting
Artificial lighting offers immense creative potential for photographers. Start by determining your goals: whether you're creating a moody portrait or a brightly lit product showcase.
Choose the Right Equipment
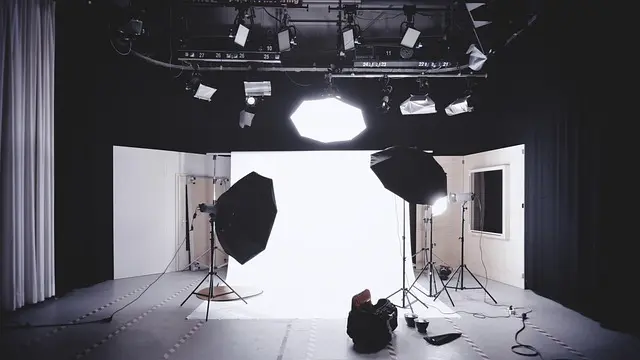
Invest in quality lighting equipment suited to your style. Continuous lights or speedlights provide versatility. Each lighting type serves distinct purposes, such as soft boxes for soft light or backlights for dramatic effects.
Set Up Your Scene
Depending on your subject, place lights accordingly. For portraits, position key lights to highlight your subject’s face, using fill lights to soften shadows. In product photography, a straightforward three-point lighting setup enhances dimension and clarity.
Manage Light Ratios
For effective visual impact, understanding light ratios is crucial. These ratios measure the intensity difference between lights. Adjusting distances and power settings allows photographers to control the shadows and highlights, adding depth to the imagery.
Test and Adjust
Always take test shots. Evaluate how the light interacts with your subject and surroundings. Make incremental adjustments, whether it’s a slight shift in the light's position or the angle of your shoot, to perfect your setup.
Comparing Natural vs. Artificial Light
| Criteria | Natural Light | Artificial Light | Verdict |
|---|---|---|---|
| Availability | Limited to time of day | Available any time | Both have unique applications |
| Control | Less control | Full control | Artificial offers more control |
| Mood Creation | Soft and dynamic | Can be harsh or soft | Dependent on intent |
| Learning Curve | Requires observational skills | Requires technical knowledge | Varies by experience |
Tips and Tricks for Mastering Light
- Experiment with different times of the day to understand how light changes your images.
- Use diffusers or soft boxes to soften harsh direct light.
- Shadows can enhance photos; use them creatively to add depth.
- Predict weather changes if working with natural light to catch fleeting moments.
- Join forums or workshops to learn from other photographers about mastering light.
FAQ about Light in Photography
Q: What is the best time to shoot with natural light?
A: The golden hour, an hour after sunrise and before sunset, is ideal for capturing dynamic images.
Q: Can you use artificial light during day?
A: Yes, combining artificial light with natural light can create an interesting effect.
Q: How do I control shadows in my photos?
A: Positioning your lights and using diffusers can help manage shadows effectively.
Q: What equipment do I need to start with photography lighting?
A: A camera, a tripod, and ideally, at least one good light source such as a flash or continuous light.
Glossary
| Terme | Définition |
|---|---|
| Natural Light | Light provided by the sun or moon, varying with time and weather. |
| Artificial Light | Light generated by man-made sources, such as light bulbs or flashes. |
| Soft Light | Diffused light that reduces harsh shadows and creates gentle highlights. |
Checklist before Photography
- [ ] Check weather conditions for natural light.
- [ ] Carry at least one light source for artificial lighting.
- [ ] Prepare reflectors for enhancing natural light.
- [ ] Test various angles and distances from the light source.
- [ ] Ensure your camera settings complement the lighting conditions.
📺 Resource Vidéo
> 📺 To go further: Mastering Light in Photography 2026, an in-depth exploration of light techniques in photography. Search on YouTube: light techniques in photography 2026.
🧠 Quiz rapide: What type of light is best during the golden hour?
- A) Natural Light
- B) Artificial Light
- C) No light is suitable
Réponse : A — The golden hour provides soft, warm natural light that's perfect for artistic photography.
📺 Pour aller plus loin : light techniques in photography 2026 sur YouTube
Recommended products
Selected by our experts
'Quarto 1' Framed Wall Art 24''x24'' by Ackerman
cb2.com
This framed wall art presents a study of light and contrast, perfect for inspiration in artistic photography.
Surratt Artistique Liquid Blush Cantaloup
bluemercury.com
This liquid blush offers vibrant colors that can inspire the use of color and light in photography.
Surratt Artistique Blush La Rosee du Soir
bluemercury.com
The blush colors mimic natural tones, providing a great reference for photographers focusing on realistic portraiture.